Kubernetes Deployment
This guide explains how to deploy built container images to a Kubernetes cluster. Kubernetes supports high availability, auto-recovery, and horizontal scaling, making it ideal for production environments.
Why Read This Guide
By following this guide, you can deploy a built image to a Kubernetes cluster with zero downtime, and configure HPA so Pod count automatically scales with traffic. Even non-developer operations team members can build a safe K8s deployment entirely from the form by following the order: select environment (dev/staging/prod) → enter resources → choose deployment strategy.
- High Availability: Multiple Pods run simultaneously, so service continues even if one fails.
- Auto Recovery: Pods automatically restart if they become unhealthy
- Horizontal Scaling: Pod count can automatically increase or decrease based on traffic (HPA)
- Rolling Updates: Deploy new versions without service interruption.
Before You Start: Terms to Know
Before diving in, here is a one-line definition for each term that appears repeatedly. When a term first shows up in the body, you will see a "(See: Glossary)" pointer.
| Term | Definition + everyday analogy |
|---|---|
| Pod | The smallest deployable unit in Kubernetes — one or more containers running together. Like a single apartment unit — the containers inside share the same resources. |
| Deployment | A resource that maintains a desired number of Pods. Like a building manager — automatically fills empty units (Pods) as they go vacant. |
| Service | A permanent address for your Pods. Like a permanent postal code — always reaches a live Pod even as individual Pods change. |
| replicas | The number of Pod copies running at the same time (spec.replicas). Like the number of checkout counters in a store — more counters serve more customers in parallel. |
| RollingUpdate | A deployment strategy that gradually replaces old Pods with new ones. Like riding an escalator — you transition to the new stair without stopping. |
| Recreate | A deployment strategy that terminates all old Pods first and then creates new ones. Like closing a store, renovating, and reopening. |
| namespace | A partition inside a cluster that separates resources. Like a department in a company — sharing the same building (cluster) but organized by department. |
Prerequisites
Before starting deployment, verify the following:
- Kubernetes cluster registered: K8s cluster must be registered on the [Runtime Environment] page
- Image build complete: Image must be pushed to the registry.
- Registry Secret created: Registry authentication Secret must exist in the K8s cluster.
Saving the Auto CI settings automatically creates the Registry Secret.
Step 1: Go to Deploy Stage
- Navigate to the [Service Management] page
- Click on the service to deploy and go to the detail page
- Click the Deploy stage in the pipeline
Step 2: Select Deployment Environment
Choose the deployment environment. Environment names are free-form. The recommendations below are typical defaults.
- Development: Feature development and testing. Typically 1 replica.
- Staging: Final verification before deployment. Typically 2 replicas.
- Production: Live service operation. Typically 3 or more replicas.
When deploying to production for the first time, verify the image has been sufficiently tested. We recommend validating in staging environment first if possible.
Step 3: Select Cluster and Namespace
Configure the deployment target: (See: namespace)
- Cluster: K8s cluster to deploy to. (e.g.,
prod-cluster-01) - Namespace: K8s namespace to deploy to. (e.g.,
production,staging) - Image Tag: Image version to deploy. (e.g.,
main-abc123)
Forgetting to enter environment variables (DATABASE_URL, API_KEY, etc.) right before deployment makes the Pod start normally but the application crashes immediately, landing in CrashLoopBackOff. If you see "missing environment variable" style messages in the operate modal's Log viewing tab, revisit the environment variable settings in Step 4. Use Secret instead of direct input for sensitive data.
A namespace is a way to logically separate resources within a Kubernetes cluster. Separating namespaces by environment (dev, staging, prod) makes resource isolation and management easier.
Step 4: Deployment Settings
4.1 Replica Settings
Number of replicas is the count of Pods to run simultaneously. (See: Pod, replicas)
- Development: 1 replica recommended. Saves resources.
- Staging: 2 replicas recommended. Provides basic redundancy.
- Production: 3 or more replicas recommended. Ensures high availability.
- Minimum 2: Service continues even if one Pod is updating or has failed.
- 3 or more: Better traffic distribution and stability.
- With HPA: Specify minimum replicas and count auto-adjusts based on traffic
4.2 Resource Settings
Configure CPU and memory to allocate to Pods.
- CPU Request: Minimum guaranteed CPU. (e.g.,
100m= 0.1 core) - CPU Limit: Maximum CPU usage. (e.g.,
500m= 0.5 core) - Memory Request: Minimum guaranteed memory. (e.g.,
128Mi) - Memory Limit: Maximum memory usage. (e.g.,
512Mi)
- Request: Used for Pod scheduling. Pod is placed on a node with this much available resources.
- Limit: Actual usage cap. Exceeding this causes CPU throttling or memory OOMKilled.
Recommendation: Set request based on average usage, limit based on peak usage
4.3 Environment Variable Settings
Configure environment variables needed by the application:
- Direct Input: Enter key-value directly. Recommended for simple config values.
- ConfigMap: Reference K8s ConfigMap. Recommended for environment-specific config.
- Secret: Reference K8s Secret. Recommended for passwords, API keys, and sensitive info.
Never directly enter sensitive information like passwords or API keys. Always use Secret. Directly entered values are stored as-is in deployment settings.
Step 5: Select Deployment Strategy
Choose how to roll out a new version. KIOPS supports the following two strategies (Blue-Green is not currently supported). (See: RollingUpdate, Recreate)
- RollingUpdate: Gradually replaces existing Pods.
- Pros: Zero-downtime, resource efficient.
- Cons: Temporary version mixing.
- Recreate: Terminates all existing Pods then creates new ones.
- Pros: Clean transition.
- Cons: Causes downtime.
The Recreate strategy terminates all existing Pods at once, so the service is briefly unavailable until the new Pods become Ready. It is preferred in development for its speed and cleanliness, but if you accidentally pick Recreate in production, users will see 502 / connection refused errors. For production, always use RollingUpdate with the default combination (maxSurge=1, maxUnavailable=0).
- Development: Recreate recommended. Fast and simple.
- Staging / Production: RollingUpdate recommended for zero-downtime releases.
RollingUpdate Advanced Settings
- maxSurge: Number of additional Pods that can be created during update. KIOPS default:
1. - maxUnavailable: Number of Pods that can be terminated simultaneously during update. KIOPS default:
0.
Example: 3 replicas, maxSurge=1, maxUnavailable=0 → at least 3 Pods are always available; momentarily 4 Pods exist and are then rotated.
Setting maxUnavailable above 0 temporarily reduces the number of Pods available to serve traffic. For production, we recommend keeping the defaults (maxSurge=1, maxUnavailable=0).
Step 6: Run Deployment
- Review all settings.
- Click the Deploy button.
- Monitor deployment progress.
Deployment Order (when there are multiple Deployments)
If the manifest has two or more Deployments, a Deployment Order section appears right below "Select build version per service" in the deploy execution modal. Use it to set an order when Deployments depend on each other — for example, when the backend must come up before the frontend works correctly.
- Sequential deployment toggle (default: off = batch): A card-style switch you turn on or off.
- Off (batch): Deploys all Deployments at the same time. Leave it off when there are no dependencies.
- On (sequential): Deploys one at a time in the specified order. The next Deployment starts only after the previous one becomes Ready.
- Setting the order: When sequential deployment is on, a Deployment list appears; reorder it by drag and drop.
- Saving: The order you set is saved and applied to subsequent deployments (manual and automatic). If a saved order exists, the sequential toggle starts in the on state when you open the modal.
The Deployment Order section appears only when the manifest has two or more Deployments. It does not appear for single-Deployment services, where ordering has no meaning.
If you edit raw YAML by hand, having different values in the Deployment's selector.matchLabels and the Pod template's template.metadata.labels leaves the Pod running but the Service's Endpoint empty, causing 502s or "connection refused". The KIOPS form keeps the two values in sync automatically, but when you edit YAML directly via the K8s YAML Generation Guide, always update both fields together. (See: Deployment, Service)
Deployment Progress
[1/4] Creating Deployment...
[2/4] Waiting for Pods to be ready...
   → Pod my-app-xxx-1: Running (1/3)
   → Pod my-app-xxx-2: Running (2/3)
   → Pod my-app-xxx-3: Running (3/3)
[3/4] Updating Service...
[4/4] Deployment completed!
Pod startup time varies based on image size and application startup time. First deployment may take longer as image pulling is required.
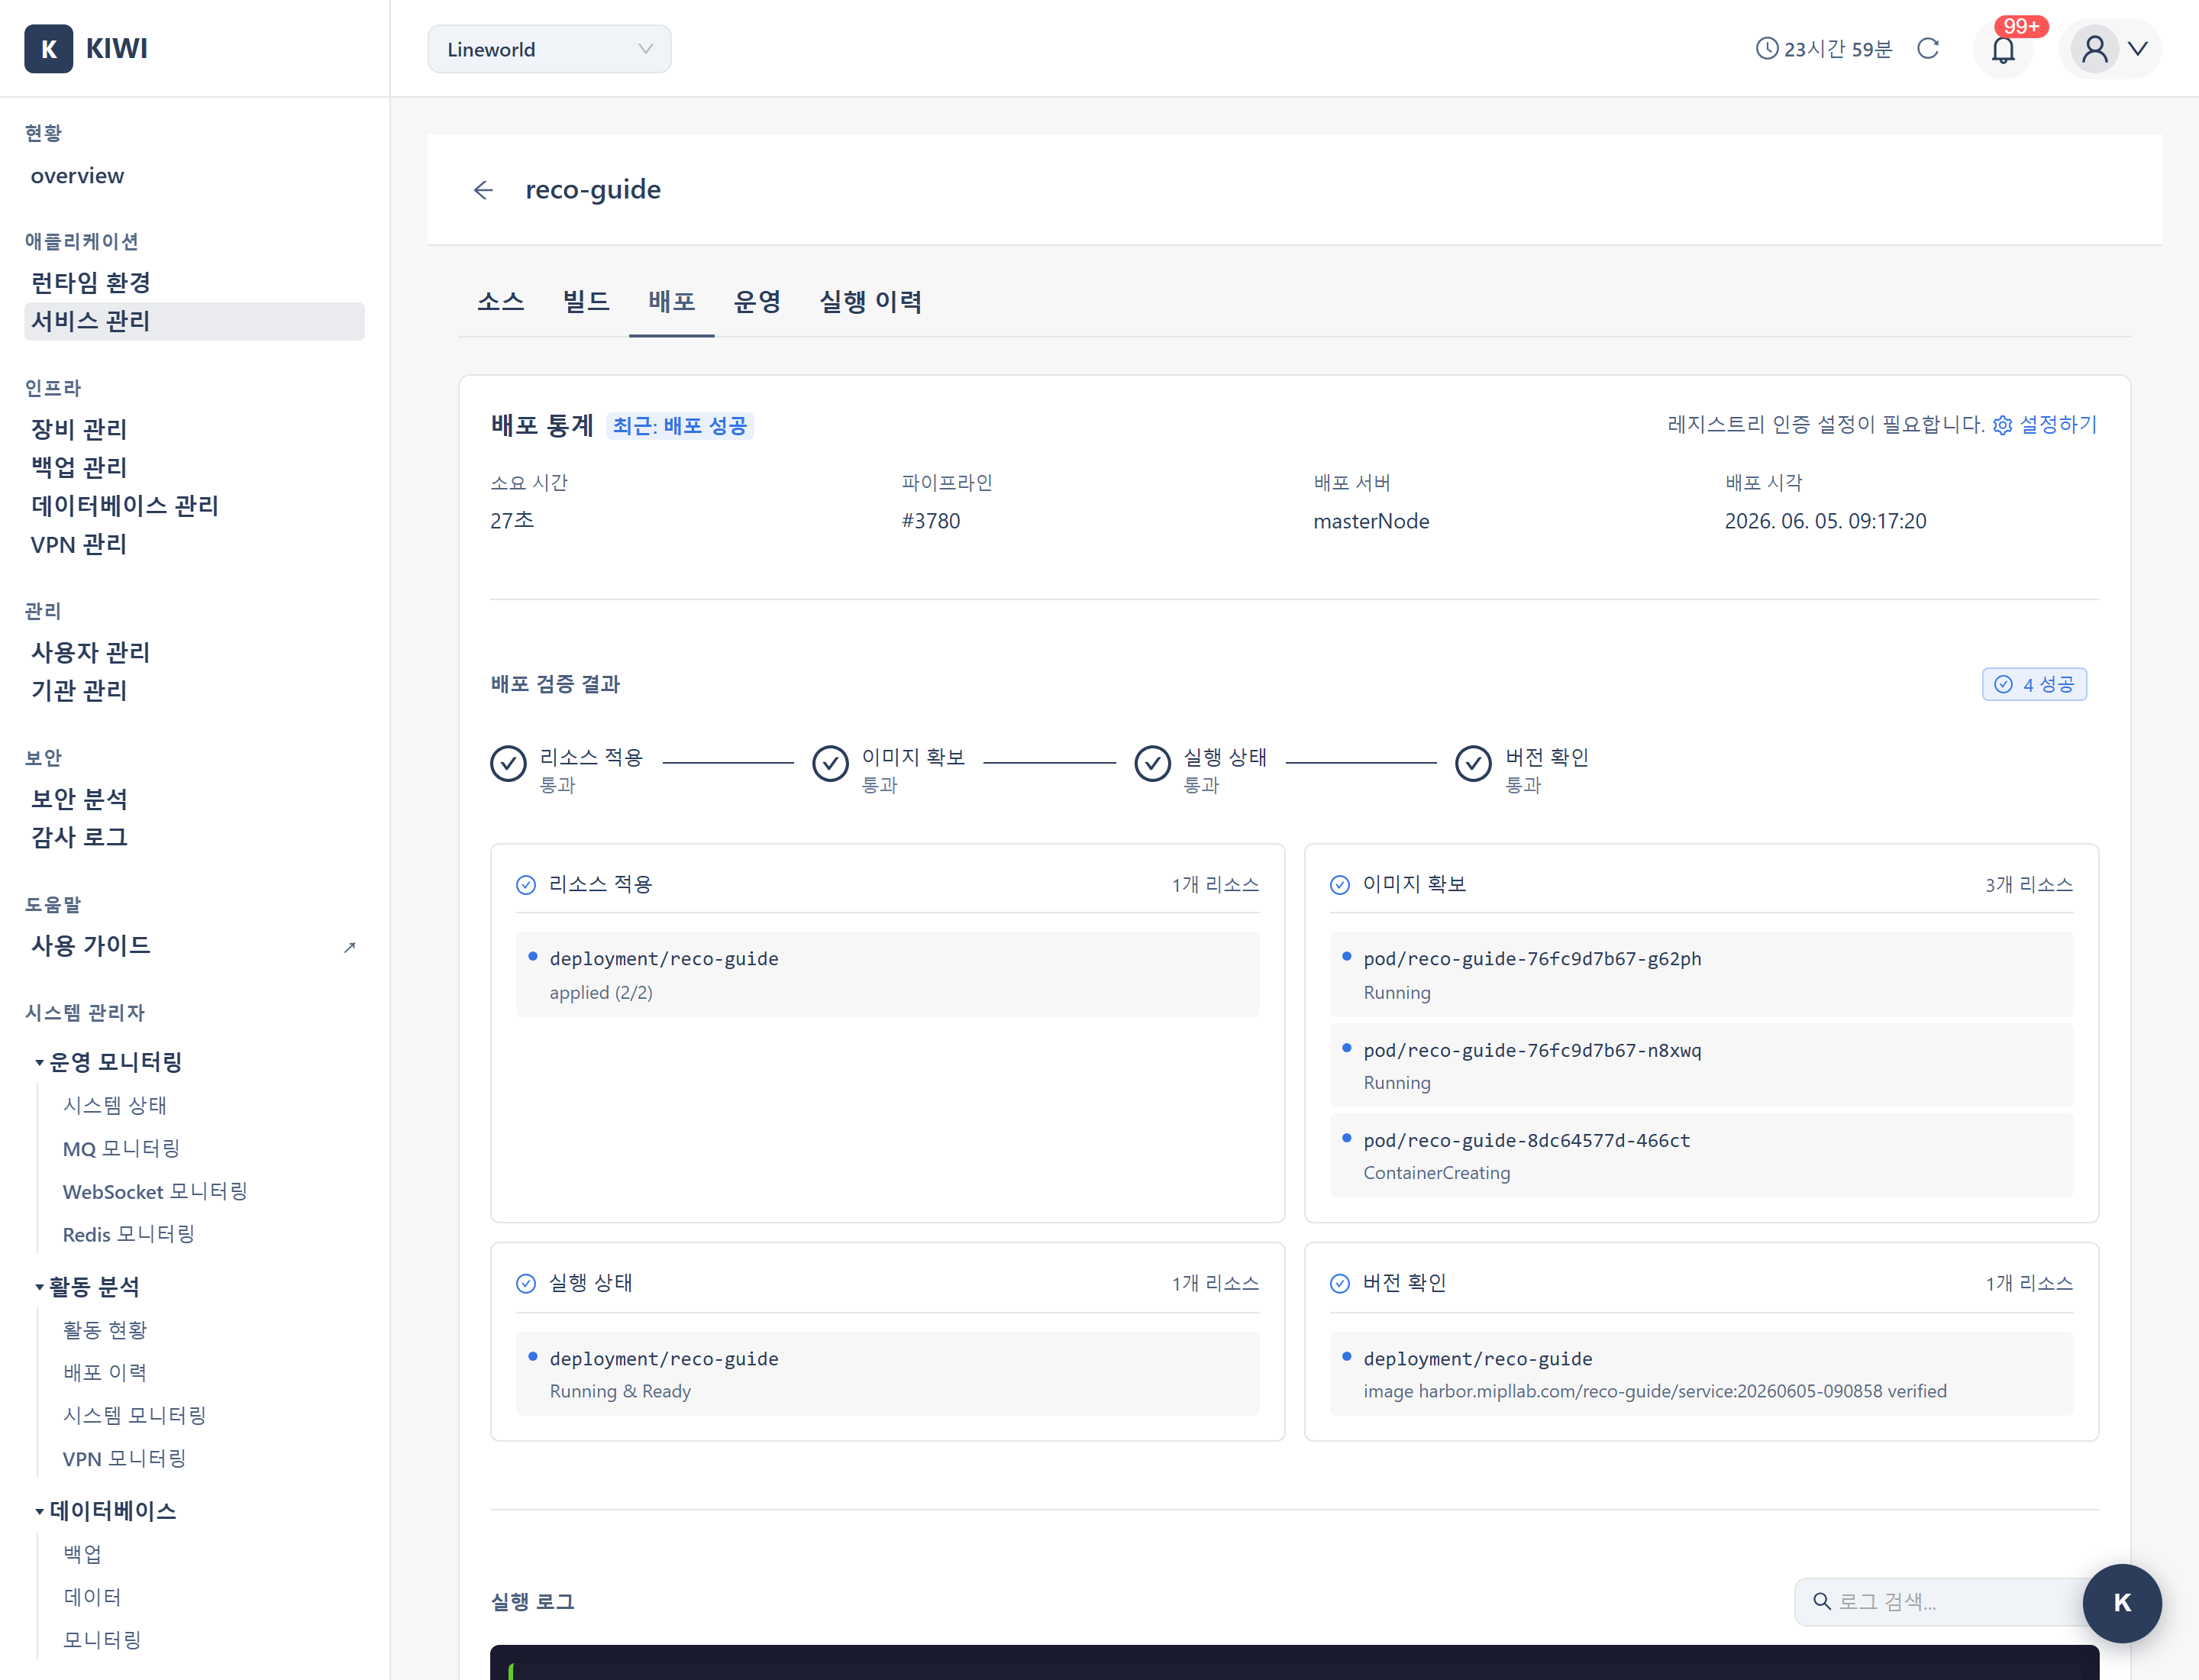
Step 7: Check Deployment Status
Understanding Pod Status
- Running: Running normally. No action required.
- Pending: Waiting for scheduling. Check node resources or image pull status.
- CrashLoopBackOff: Repeatedly crashing. Check logs to identify the issue.
- ImagePullBackOff: Image pull failed. Check Registry Secret or image tag.
Operate Modal Tabs
Detailed service information is available in the operate modal that opens from the Operate stage. For a K8s runtime, the modal contains the following tabs (the Log viewing and Command execution tabs appear only when you have the corresponding permission):
- Overview: Service summary and key metrics.
- Pod list: Pod list / status / CPU·memory / image / actions. The HPA settings section lives inside this tab.
- Deployment management: Deployment rollout status, revision history, and instant-rollback button.
- Config/Secret: Namespace-scoped ConfigMap and Secret key-value management (requires manage permission).
- Log viewing: Real-time Pod logs.
- Command execution: Run
kubectl ...commands in one-shot or streaming mode (-it,port-forward,-A,--all-namespaces, and similar interactive flags are blocked). - Domain settings: Configure Ingress domain and TLS.
Domain-targeted DAST scans have been moved out of the operate modal to the [Security Analysis] page.
HPA (Horizontal Pod Autoscaler) Setup
Set up HPA to automatically adjust Pod count based on traffic.
Horizontal Pod Autoscaler is a Kubernetes feature that automatically increases or decreases Pod count based on CPU usage.
How to Create HPA
- Open the operate modal from the Operate stage.
- Switch to the Pod list tab (the HPA configuration section is inside this tab).
- Click the HPA Settings button.
- Enter settings:
- minReplicas: Minimum Pods when scaling down (recommended: 2).
- maxReplicas: Maximum Pods when scaling up (recommended: 10).
- targetCPU%: CPU utilization target (default 80; 70-80% is the typical starting range).
KIOPS's HPA only supports a single CPU-based metric (implemented via kubectl autoscale --cpu-percent). Memory-based HPA, multi/custom metrics, and scale-stabilization windows are not configurable from the KIOPS UI. If needed, edit the HPA directly with kubectl edit hpa.
Domain Settings (Ingress)
Configure a domain to allow external access to your service.
Create Ingress
- Go to Operate stage → Domain settings tab of the operate modal.
- Enter domain information:
- Host: Domain name. (e.g.,
api.company.com) - Path: URL path. (e.g.,
/,/api) - TLS: Enable HTTPS. (Recommended)
- Host: Domain name. (e.g.,
For details, see the Domain/SSL Setup guide.
Troubleshooting
Pods Not Starting
- Pending (Insufficient resources): Check node resources and reduce request values if needed.
- Pending (Waiting for image pull): Check Registry Secret configuration.
- ImagePullBackOff: Image not found. Verify image tag and Registry access permissions.
- CrashLoopBackOff: Application error. Check the Log viewing tab of the operate modal.
Deployment Failure
- Namespace not found: Create namespace first
- Insufficient permissions: Request RBAC permissions from cluster admin
- ResourceQuota exceeded: Check resource quota or adjust request values.
Cannot Access Service After Deployment
- Pod not Ready: Check Health Check settings and application.
- Service configuration error: Verify port mappings.
- Ingress not configured: Create Ingress in the operate modal's Domain settings tab.
Check real-time logs in the Log viewing tab of the operate modal. Most issues can be diagnosed from application logs.
What's Next
If the K8s deployment finished successfully, here is a recommended path:
- HPA auto-scaling: In the operate modal → Pod list tab, set up HPA so Pod count automatically adjusts to traffic. Min 2 / Max 10 / CPU 70% is a common starting point.
- Domain / SSL setup: To expose the service externally, register an Ingress from the Domain settings tab of the operate modal. See the Domain/SSL Setup guide for the full procedure.
- Prepare rollback scenarios: The Deployment management tab of the operate modal lets you instantly roll back to a previous revision. A quick read of the Rollback guide will dramatically shorten your incident response time.
Related Guides
- Rollback - Restore to previous version when issues occur
- Docker Deployment - Docker/Podman runtime deployment.
- Operations Management - Pod monitoring, log viewing.